“Design is not just what it looks like and feels like. Design is how it works.” – Steve Jobs
Learning to draw a Jeep takes passion, precision, and patience. It’s great for car lovers or those who want to improve their drawing skills. Mastering the details of this iconic vehicle can really boost your art.
Drawing a Jeep is more than just following lines. It’s about capturing the rugged spirit and powerful design that makes these vehicles legendary. Our guide will show you how to create a realistic Jeep illustration, from basic shapes to detailed features.
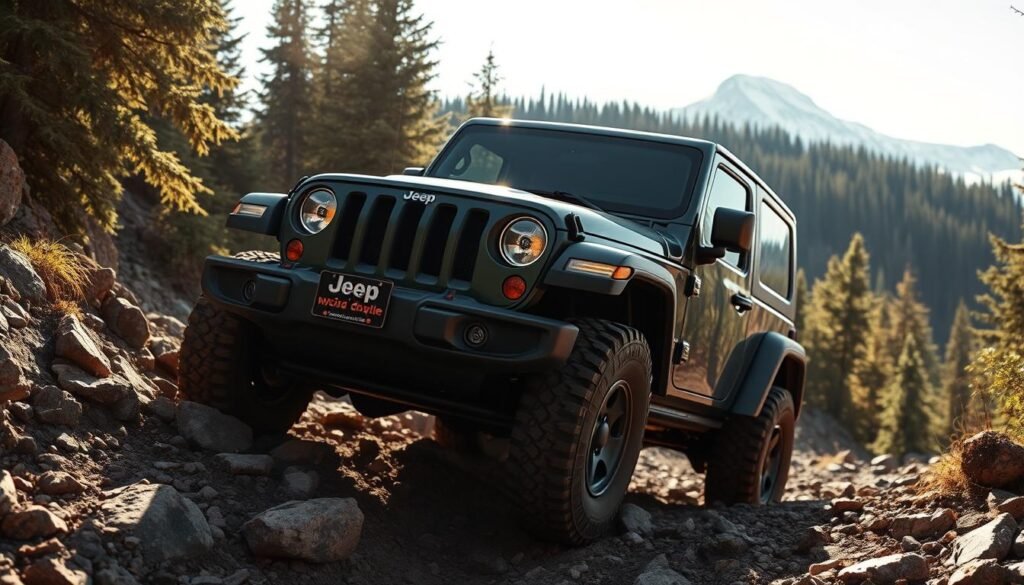
Understanding vehicle anatomy is key in automotive design. The 2022 Jeep Grand Cherokee is a great example. Its bold front grille and sleek LED headlights are important design elements that challenge and inspire artists.
Our structured approach will help you turn simple shapes into a dynamic Jeep drawing. Our tutorial breaks down the drawing process into easy steps. This way, even beginners can get professional-looking results.
Understanding Basic Jeep Structure and Proportions
To draw a Jeep, you need to know its unique shape. The Jeep’s design is both tough and stylish. Getting the proportions right is key to drawing it well.
- Boxy, angular body shape
- Prominent wheel arches
- Distinctive front grille design
- Straight, muscular body lines
Front Profile Elements
The front of a Jeep looks bold and upright. Fans love the classic Jeep look with its square hood and seven-slot grille. Notice the sharp front line, which makes the Jeep look tough.
Side View Components
From the side, a Jeep looks strong and unique. Important features include high ground clearance, big wheel wells, and a steep windshield. The side view shows the Jeep’s off-road readiness with its sturdy build and practical design.
Essential Measurements
Getting the proportions right is vital when drawing a Jeep. Here are some key measurements to keep in mind:
- Front to rear body length
- Height of wheel wells
- Width of the vehicle body
- Angle of the windshield
Required Drawing Materials and Tools
To draw a Jeep, you need the right art supplies. Choose materials that help you make a detailed and realistic vehicle drawing. You don’t have to spend a lot, but you should have some key tools.

- Pencil set with multiple grades (hard to soft)
- High-quality drawing paper
- Soft eraser
- Fine-tip drawing pens
- Colored pencils (optional)
When picking paper for your Jeep drawing, think about the weight and texture. Thicker paper is better for markers and colored pencils. Lighter paper is good for graphite pencils. Artists say to use paper that can handle layers and doesn’t bleed.
Pro tip: Get a set of pencils from hard (H) to soft (B) grades. This lets you make different line weights and shading for your Jeep’s details.
The most important thing for drawing a Jeep is your creativity and practice. Begin with basic shapes, look at real vehicles, and try new techniques. This will help you get better at drawing.
Starting with the Main Body Outline
Learning to draw a Jeep starts with a solid foundation. Many beginners look for simple techniques. We’ll guide you through easy steps to get started.
Understanding a Jeep’s basic structure is essential. The drawing process involves strategic lines that show the vehicle’s rugged look. Focus on two main parts:
- Smooth lines for the front and top sections
- Straight lines with noticeable angles for lower body parts
Creating the Basic Shape
Start by sketching the basic shapes of a Jeep. These simple shapes will become a detailed drawing. Key elements to remember are:
- Begin with a rectangular base for the main body
- Draw an M-shaped outline for precise angles
- Use adjacent lines to show structural relationships
Establishing Vehicle Dimensions
Proportion is key when drawing a Jeep. Its boxy design needs careful geometric precision. Pay attention to:
| Drawing Element | Key Considerations |
|---|---|
| Body Outline | Use clean, angular lines that reflect the Jeep’s rugged design |
| Wheel Representation | Draw circular shapes under curved arcs for authenticity |
| Door and Window Areas | Depict as geometric polygons with precise measurements |
Setting the Foundation
The first sketch is the foundation for a realistic Jeep drawing. With more people interested in creative hobbies, mastering these basics is rewarding. Remember, patience and practice are key to creating your automotive artwork.
How To Draw A Jeep
Learning to draw a Jeep takes patience and practice. This guide will show you how to draw a realistic Jeep. It will help you capture the vehicle’s rugged look.

- Pencil with soft lead
- Drawing paper
- Eraser
- Ruler
- Colored pencils or markers (optional)
To draw a Jeep, you need to understand its structure. The process has 12 steps. Each step focuses on important parts like wheels, body outline, and details.
- Start with basic shapes to outline the Jeep’s frame
- Sketch the main body proportions carefully
- Define the wheel wells and tire placement
- Add windows and door lines
- Refine the front grille and headlight details
- Draw the distinctive Jeep roll cage
Pro tip: Focus on capturing the Jeep’s angular lines and robust silhouette. Each step builds complexity, transforming simple shapes into a detailed vehicle.
Remember, drawing a Jeep is about capturing its spirit of adventure. Take your time with each step. Don’t be afraid to make adjustments. The key is to enjoy the creative process and let your artistic skills develop naturally.
Detailing the Front Features
Learning to draw a Jeep starts with the front features. These are key to capturing its iconic look. The front end shows the Jeep’s unique character and design.

When drawing a Jeep, focus on its front-end details. Here are the main parts to include:
Iconic Grille Design
The seven-slot grille is a Jeep’s signature feature. To draw a Jeep, pay close attention to these elements:
- Sketch seven vertical slots with equal spacing
- Ensure straight, clean lines for each slot
- Maintain consistent width between slots
- Use light pencil strokes for initial outline
Headlight Placement
Getting the headlight placement right is key to the Jeep’s look. Here are some tips for drawing headlights:
- Draw round headlights with slightly squared edges
- Position lights symmetrically on either side of the grille
- Create depth by adding subtle shading around the lights
- Maintain proportional size relative to the grille
Bumper Construction
The bumper is a key part of drawing a Jeep. Focus on these details:
- Sketch a sturdy, rectangular bumper
- Add angular edges for a rugged appearance
- Include mounting points for fog lights
- Use bold, confident lines to represent strength
Pro tip: Reference actual Jeep models to ensure accuracy in your drawing technique.
Adding Windows and Mirrors
Learning to draw a Jeep means focusing on windows and mirrors. These details make your Jeep look real and complete. They show the Jeep’s character and how it works.
- Start with the windshield, using straight and curved lines to capture its precise angle
- Sketch side windows with careful attention to proportions
- Define the rear window using geometric shapes
- Add side mirrors to complete the detailed look
When drawing windows, pay attention to the Jeep’s design. Jeep models often have slightly angled windows. Start by lightly drawing the window frames. Make sure they fit well with the Jeep’s body lines.
For side mirrors, being precise is important. Place them a bit forward of the front doors. Use small rectangular shapes with rounded corners for the mirror housing. Add depth with a subtle reflection or edge detail.
Pro tip: Use real Jeep photos to see how different models have unique windows and mirrors. This helps you draw them accurately.
Creating the Wheel Wells and Tires
Learning to draw a Jeep starts with the wheel wells and tires. These parts show the Jeep’s tough side. They make your drawing look real.
Getting the wheel wells right is important. You need to know the Jeep’s design well. This helps you draw its wheel arches accurately.
Tire Tread Patterns
Tire details are key for a precise Jeep drawing. The right tread patterns make your drawing better. Here are some tips:
- Analyze different tire tread designs
- Sketch angular and directional tread lines
- Create depth through shading techniques
Pro tip: Observe real Jeep tires to understand their unique tread characteristics.
Wheel Arch Details
Wheel arches show a Jeep’s strong look. When drawing, use straight and angled lines. Professional Jeep drawing techniques focus on these details.
| Wheel Arch Element | Drawing Technique | Key Consideration |
|---|---|---|
| Curve Radius | Use smooth, slightly irregular lines | Reflect off-road ruggedness |
| Depth Perception | Implement strategic shading | Create three-dimensional effect |
| Structural Integrity | Maintain proportional relationships | Ensure realistic representation |
Remember, practice is key when learning how to draw a Jeep’s wheel wells and tires. Each try will make you better at drawing the Jeep’s design.
Incorporating Door Lines and Panels
Learning to draw a Jeep starts with mastering door lines and panels. These details turn a simple outline into a detailed vehicle sketch. The Jeep’s boxy shape needs careful attention to its panel structure and door lines.
- Outline the basic door shape with clean, angular lines
- Carefully define the door handles and their precise placement
- Sketch the panel seams with careful, deliberate strokes
- Pay attention to the unique Jeep squared-off door design
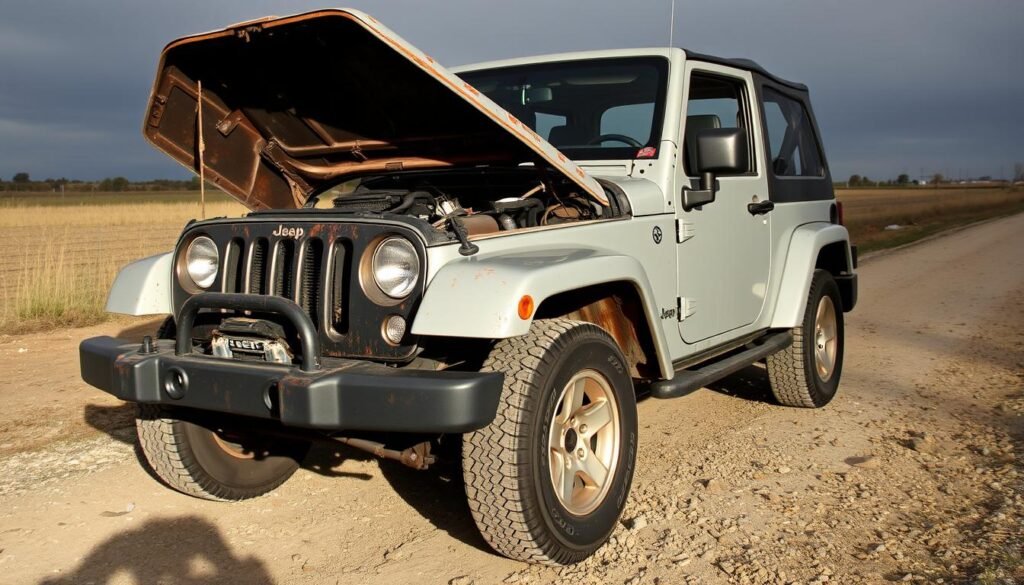
Professional artists say to focus on the geometric precision of Jeep door panels. The 2024 Jeep Wrangler is a great example. Its body lines show the vehicle’s rugged character.
The key to a great Jeep drawing is capturing its structural integrity and bold design elements.
When drawing door panels, remember these technical details:
- Measure the proportional width of door panels
- Create subtle indentations to show depth
- Include small details like door hinges and trim lines
- Reflect the vehicle’s robust construction
Pro tip for how to draw a Jeep: Study reference images of actual Jeep models. This helps understand the nuanced panel lines and structural characteristics that make each Jeep unique.
Mastering the Roof and Roll Cage Design
Drawing a Jeep’s roll cage needs precision and knowledge of its strength. The roll cage is not just a design feature. It’s a key safety element that shows the Jeep’s tough side.
Artists must focus on technical details when drawing the roll cage. A good roll cage design has several important parts:
- Main structural tubing with 1.5-inch diameter
- Wall thickness ranging from 0.095 to 0.120 inches
- Strategic placement of support bars
- Precise triangulation for maximum strength
Top Frame Structure Considerations
The top frame needs careful measurement and proportion. Jeep designers suggest focusing on these key points when drawing the roll cage:
- Position the main hoop horizontal bar at the center of the B-pillar
- Use gussets between 6-10 inches in length for structural reinforcement
- Ensure floor plate anchoring of at least 12 square inches
Support Bar Placement Techniques
Support bars are the backbone of your Jeep drawing. Their placement is key for both looks and strength. Here are some technical tips:
| Tubing Size | Wall Thickness | Recommended Use |
|---|---|---|
| 1.5″ | 0.093 inches | Off-road cage design |
| 1.625″ | 0.093 inches | High-performance applications |
“A well-designed roll cage is the difference between a drawing and a realistic Jeep representation.”
Learning to draw a Jeep roll cage takes time and effort. Focus on angles, proportions, and details that make each Jeep special.
Adding Final Details and Texture
Learning to draw a Jeep means adding the last touches to make it look real. Texture is key in making your Jeep drawing pop. It shows the metal, paint, and mechanical parts.
- Surface Texture: Simulate metal and paint variations
- Logo Placement: Add the iconic Jeep emblem
- Mechanical Details: Include subtle elements like
- Door hinges
- Hood latches
- Panel seams
Artists say texture is important when drawing a Jeep. Use shading to show different materials. The Low Poly method uses one block, while detailed drawings have many parts.
Here are some advanced texture techniques for your Jeep drawing:
- Use varied line weights to suggest material differences
- Create subtle shadows to indicate panel depth
- Implement crosshatching for metal texture
- Add small imperfections to increase realism
When adding the last details to your Jeep drawing, remember less is more. Choose details that make the Jeep look good without cluttering the picture.
Coloring and Shading Techniques
Learning to draw a Jeep comes alive in the coloring stage. Choose colors that show the Jeep’s tough side. Our drawing used green, but try classic Jeep colors like military green, desert tan, or bold red.
Shading is key to drawing a Jeep. Use light and dark to add depth. Pay attention to wheel wells, body lines, and window edges. Start with a base color and add shadows to show the Jeep’s strength.
Advanced artists can get creative with shading. Use grey and black for realistic shadows around headlights, handles, and the spare wheel. Each Jeep drawing is special, so let your creativity show in color and shading.
Pro tip: Over 100 Jeep coloring pages are available for download. These can help improve your coloring skills and explore different ways to draw this iconic vehicle.
FAQ
What materials do I need to draw a Jeep?
You’ll need basic drawing tools like pencils, erasers, and paper. You might also use fine-tip pens for details and colored pencils for color. Remember, your creativity is the most important thing!
I’m a beginner. Is drawing a Jeep difficult?
No, it’s not hard at all! This guide makes drawing a Jeep easy by breaking it down into simple steps. We’ll guide you from the basic outline to the final details, making it fun for all skill levels.
How do I get the proportions of a Jeep right?
Start by understanding the Jeep’s basic shape. Notice its boxy look, where windows, wheels, and the seven-slot grille are. Take your time to measure and compare these parts.
What’s the most challenging part of drawing a Jeep?
Many find the wheel wells, tire treads, and roll cage tricky. But don’t worry, our guide simplifies these parts into easy shapes and techniques.
Can I add my own creative touch to the Jeep drawing?
Yes, you can! Our guide is a solid foundation, but feel free to add your own twist. Try different colors, add unique details, or change the Jeep’s pose to make it yours.
What Jeep models work best for beginners to draw?
The classic Jeep Wrangler is great for beginners. Its simple, boxy design makes it easy to draw. Its clear lines and unique features help capture the essence of a Jeep.
How long does it take to complete a Jeep drawing?
The time it takes depends on your skill and detail level. A simple sketch might take 30 minutes. But a detailed drawing with shading and color could take hours. Enjoy the journey and take your time!